🍽️
Prep time15 mins
Cook time120 mins
Ingredients2
snack
Baked Apple Chips with Cinnamon
Published: Jan 15, 2025
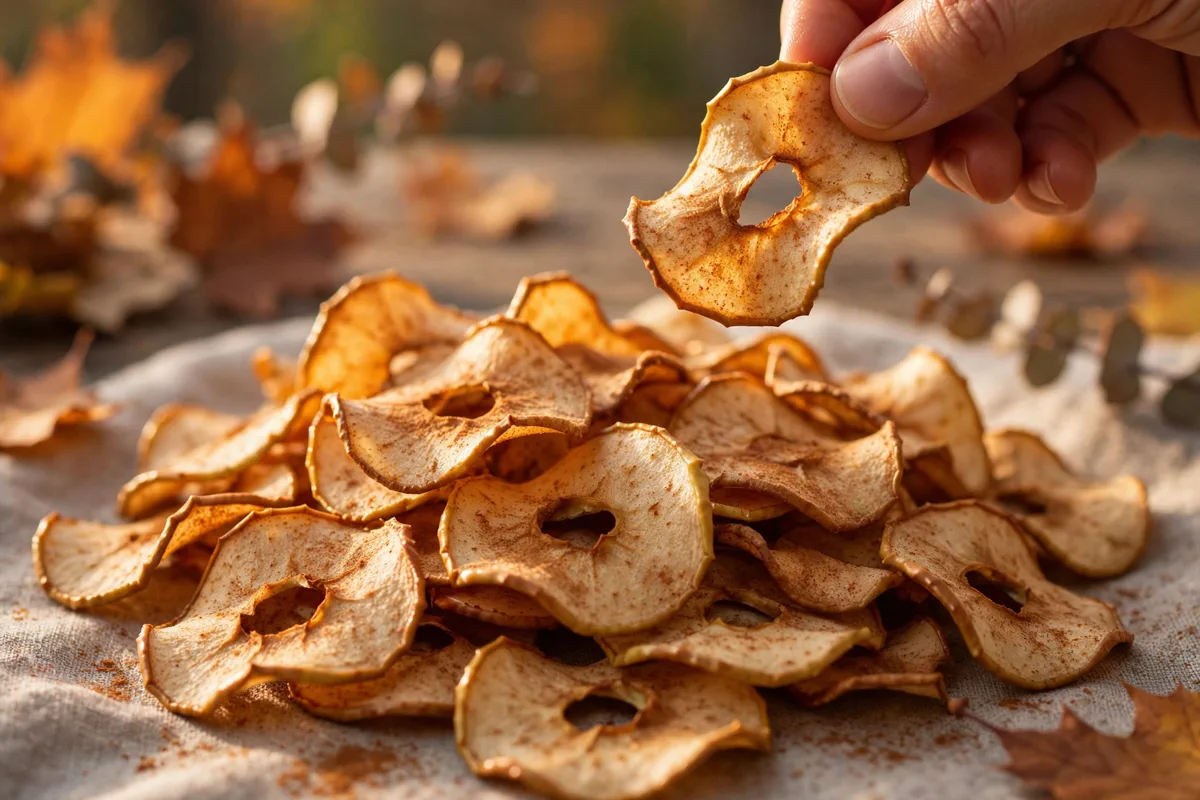
Thin oven-baked apple chips dusted with cinnamon. Two ingredients, no dehydrator, crisp straight from a low oven.
Thin oven-baked apple chips dusted with cinnamon. Two ingredients, no dehydrator, crisp straight from a low oven.
If you are looking for an ultra-satisfying, restaurant-quality meal that comes together with minimal effort, this Baked Apple Chips with Cinnamon is about to become your new favorite. Everything is cooked to juicy, golden perfection with wholesome ingredients and incredible depth of flavor.
One simple tip!
Slice on a mandoline at its thinnest setting for the most even batch; knife-cut slices will need the thicker ones pulled a little later.
Step-by-Step Photos
Why You’ll Love This Recipe
Quick & EffortlessReady in just 135 minutes total with straightforward, foolproof prep.
Packed with Deep FlavorCarefully balanced with apples, ground cinnamon for maximum satisfaction.
Family & Crowd FriendlyMakes 4 generous servings that can be effortlessly doubled or scaled using our smart scaler.
Made From ScratchReal ingredients and straightforward home cooking, with no shortcuts on flavor.
Ingredients Notes & Variations
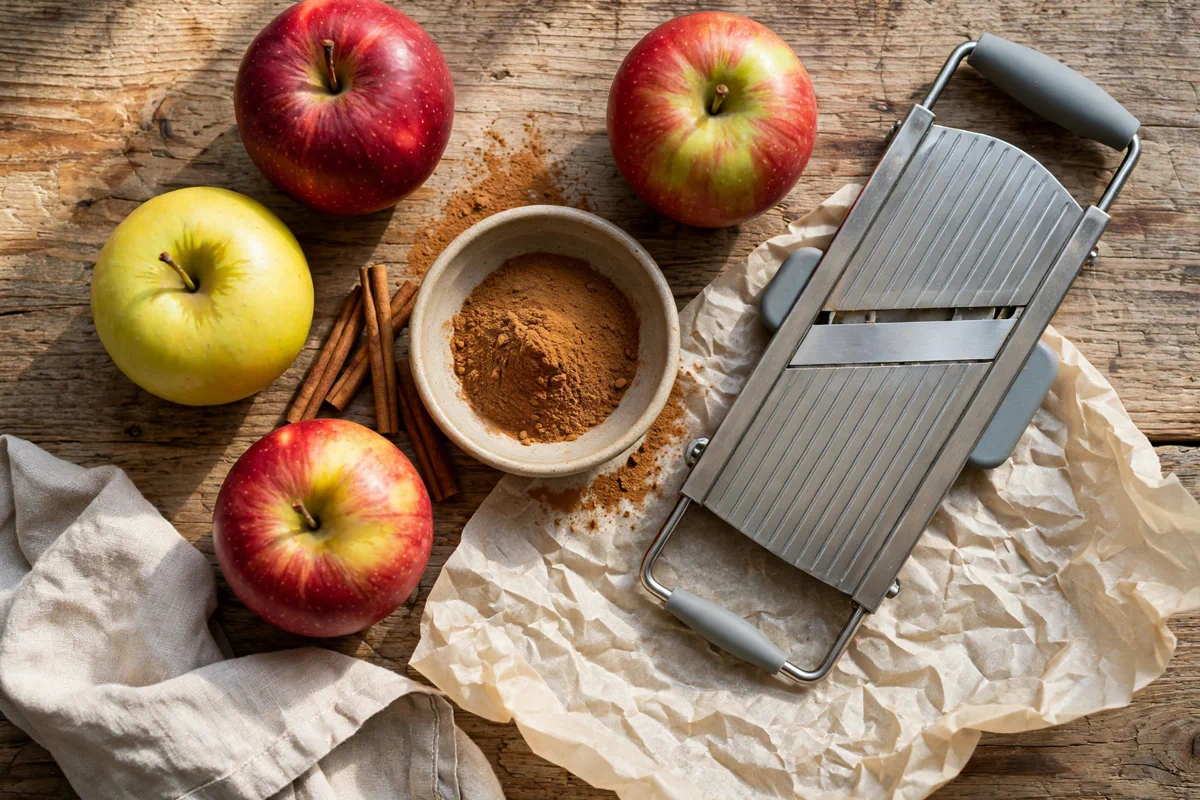
Here is an overview of what you will need for this recipe. Be sure to scroll down to the printable recipe card below for exact scaled measurements!
apples
2 piecelarge, firm; Honeycrisp, Fuji, Gala, or Granny Smith
ground cinnamon
1 tspdusted evenly over the slices
How to Make (Step-by-Step Overview)
Here is a quick summary of the preparation process. Detailed cooking temperatures and step timers are included in the recipe card below.
1
Heat the oven to 200 degrees Fahrenheit and line two baking sheets with parchment paper.
2
Wash and dry the apples, then slice them as thin as you can, about 1 to 2 millimeters thick, using a mandoline or a sharp knife.
3
Pick out the seeds and lay the slices in a single layer on the lined trays, leaving a small gap between each slice.
4
Dust the cinnamon evenly over the slices from a small sieve or shaker held above the trays.
5
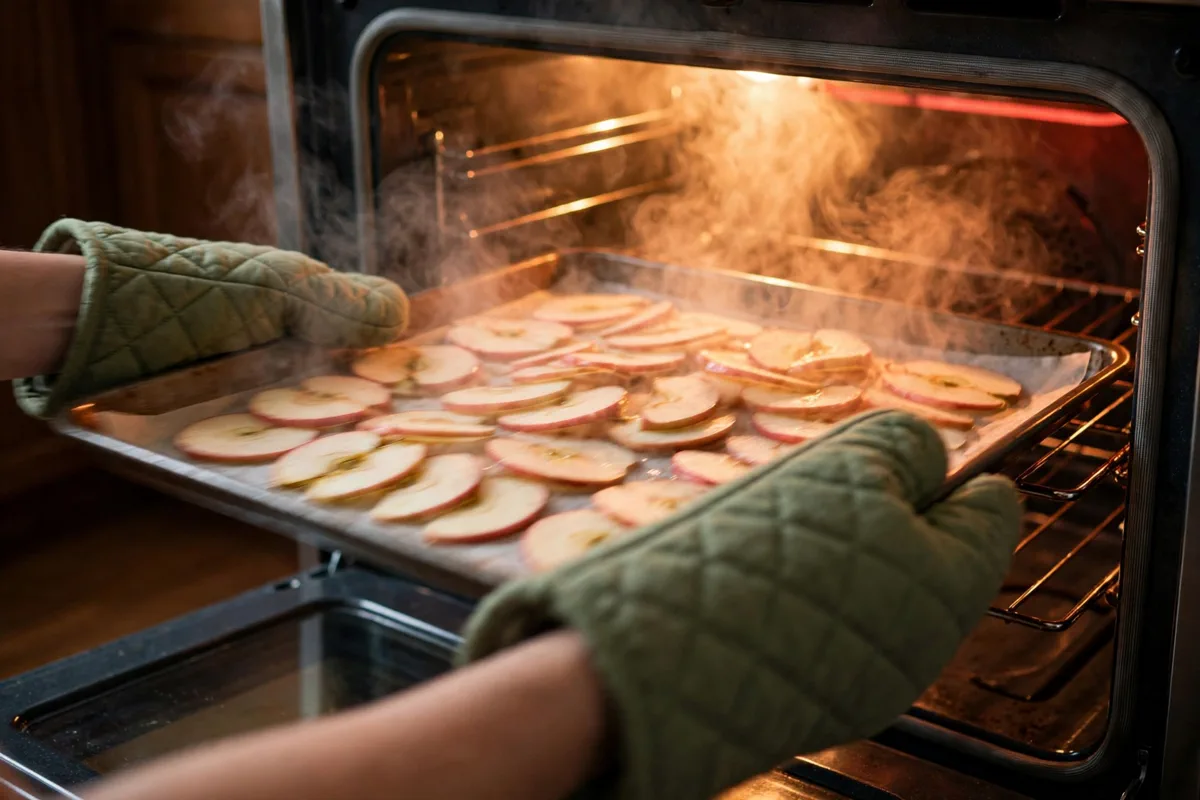
Bake for 60 minutes, until the tops look dry and the edges start to curl slightly.
6
Flip every slice, swap the trays between racks, and bake for 45 to 60 minutes more, until the slices feel papery and dry.
7
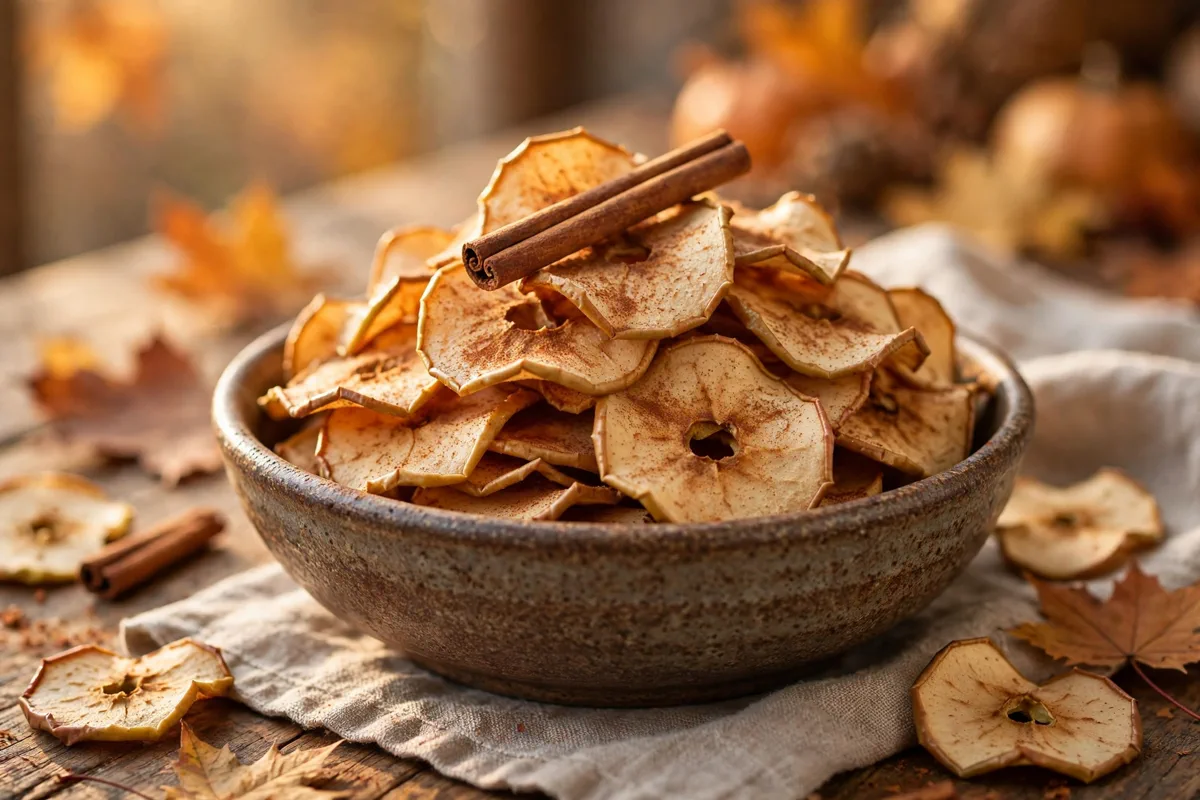
Cool the chips on the trays for at least 30 minutes, then test one: it should snap when bent gently, not bend.
8
Store the cooled chips in an airtight container, or serve at once.
Our Pro Tips for Success
- •Slice on a mandoline at its thinnest setting for the most even batch; knife-cut slices will need the thicker ones pulled a little later.
- •Do not overlap slices on the tray. Touching slices trap steam and stay soft where they meet.
- •Judge doneness after cooling, not straight from the oven: a warm chip always feels softer than it really is.
- •If one side of a tray crisps faster, rotate the tray halfway through each baking stage to even out oven hot spots.
- •On a humid day, store chips in an airtight container as soon as they are cool, or they will soften within hours.
Storage & Make-Ahead Instructions
Refrigerator:Store leftovers in an airtight container for up to 3 to 4 days.
Freezer:Freeze in freezer-safe containers or bags for up to 2 months. Thaw overnight in the fridge.
Reheating:Reheat gently in a 350°F oven or covered skillet with a splash of broth until heated through.
Interactive Kitchen Assistant Live Smart Scaler
Our Recipe Precision Calculators
Calculate exact roasting times, internal temperatures, brining ratios, and safe thaw windows.
2.5 lbs (1.13 kg)
Recommended Timing & Thermals
Est. Cook Time45 mins
Rest Period7 mins
Pull From Heat160°F (71°C)
Final Carryover165°F (74°C)
Insert meat thermometer into thickest center without touching bone for 100% juicy safety.
Baked apple chips with cinnamon are thin apple slices baked slowly in a low oven until they dry out and turn crisp. The cinnamon adds warmth without sugar, and the finished chips taste like concentrated apple with a light spice finish. They work as a lunchbox snack, a topping for yogurt, or a crunchy bite beside tea.
The method is simple, but the result depends on two things: how thin you slice and how patient you are in the oven. Thick slices stay soft in the middle. Very thin slices can burn at the edges before the centers dry. The sweet spot is a slice you can almost see light through, baked at 200 degrees Fahrenheit until it feels dry to the touch.
Pick apples that hold their shape
Not every apple bakes into a good chip. Firm, tart sweet apples keep their structure as the water leaves. Honeycrisp, Granny Smith, Fuji, and Gala all work well here. Honeycrisp and Fuji give a sweeter chip. Granny Smith gives a sharper, more tangy chip that pairs well with the cinnamon. Gala sits in the middle and is often the easiest to find.
Avoid apples that are soft, mealy, or bruised. A soft apple will tear when you slice it thin, and a bruised spot will darken and stay damp while the rest of the slice dries. Pick apples that feel heavy for their size and firm when you press the skin gently. Wash and dry them well before slicing, since water on the surface slows the first part of baking.
You do not need to peel the apples. The skin helps the slice hold together, adds color around the edge, and gives a little extra texture once crisp. If you prefer a paler chip, you can peel, but expect a slightly more fragile slice that needs careful handling on the tray.
How thin is thin enough
Aim for slices about 1 to 2 millimeters thick, roughly the thickness of a coin. A mandoline makes this easy and even. Set it to its thinnest setting, hold the apple steady, and slide it across in smooth strokes. Use the hand guard that came with the mandoline. Fingers and mandolines are a bad combination, and a rushed cut is how most kitchen nicks happen.
If you do not have a mandoline, a very sharp knife works. Cut the apple in half through the core first, then place the flat side down so it does not roll. Slice across the half in steady, even cuts. Your slices will not be as uniform as mandoline slices, and that is fine. Just pull the thicker ones out a little later, or move them to the center of the tray where the heat is gentler.
Remove the seeds as you go, but leave the core shape intact if you like the star pattern in the middle. That star is the seed cavity, and it looks nice on the finished chip. If a slice breaks, set it aside and eat it fresh. Broken pieces dry unevenly and tend to curl and burn at the broken edge.
Getting the cinnamon on evenly
Cinnamon clumps if you dump it in one spot. The fix is to dust it from a small sieve or a shaker held high above the tray, so it falls as a fine, even layer. One teaspoon spread across two large apples is enough. You want a light dusting you can see, not a thick coat that tastes dusty.
Lay the slices in a single layer on parchment lined baking sheets. Do not overlap them. Overlapped slices trap steam and stay soft where they touch. Leave a small gap between each slice so hot air can move around it. Two large apples will fill two standard baking sheets, which is why this recipe uses two trays.
Some cooks brush the slices with lemon juice to stop browning. It is not needed here. The cinnamon covers light browning, and the low oven darkens the chips slightly anyway. If you do use lemon juice, use only a light brush. Too much liquid adds drying time back into the recipe.
What happens in the oven
Set the oven to 200 degrees Fahrenheit. This is a drying temperature, not a roasting temperature. The goal is to pull water out slowly without cooking the apple into a soft baked slice. Higher heat will brown the edges fast while the centers stay bendy, and you will end up with chips that look done but go soft in ten minutes.
Bake for 60 minutes, then flip every slice. The underside will still feel damp at this point, and that is normal. Return the trays to the oven, swapping their positions so the tray that was on the bottom rack moves to the top. Bake for another 45 to 60 minutes. Total baking time is about 105 to 120 minutes, depending on your oven and how thick your slices were.
Listen and look as the second hour goes on. The kitchen will smell like warm apple and cinnamon. The slices will start to curl slightly at the edges and pull away from the parchment. When a slice looks dry and feels papery, lift it and let it cool for two minutes on the tray. A warm chip always feels softer than it really is. The true test happens after cooling. A finished chip snaps when you bend it gently. If it bends without snapping, it needs another 10 to 15 minutes in the oven.
Why some batches go soft again
The most common problem is storing chips before they are fully cool and fully dry. Warm chips release a little steam into a closed container, and that steam softens every chip in the jar. Let the trays sit at room temperature for at least 30 minutes before you store anything. The chips should feel cool, dry, and crisp in your hand.
Humidity also matters. On a damp day, chips can lose their snap within hours if left out on a counter. Store them in an airtight container as soon as they are cool. If they do soften, you can often rescue them. Spread them back on a tray and bake at 200 degrees for 10 minutes, then cool again before storing.
Oven hot spots cause uneven batches too. If the chips on one side of a tray crisp much faster than the other side, rotate the tray halfway through each baking stage. If your oven runs hot, check at 90 minutes instead of waiting for the full two hours. A few dark edges are fine and taste like toasted apple. Black edges taste bitter, so pull those chips early.
Ways to serve them
Plain, straight from the jar, is how most batches get eaten. They also work crumbled over oatmeal or yogurt, where they stay crisp for a few minutes before softening into the bowl. Try them beside a cheese board. The sweet, spiced crunch sits well next to sharp cheddar or creamy brie, and the chips add color without needing crackers.
For a dessert style snack, layer chips with whipped cream or vanilla yogurt in a small glass. The layers look good, and the contrast between creamy and crisp is the whole point. Do not assemble this more than a few minutes ahead, since the cream will soften the chips. For kids, pack them in a small container on their own, not mixed with fruit, since moisture from fresh fruit will soften them by lunchtime.
A note on sugar and spice
This recipe uses no added sugar. The sweetness comes from the apples themselves as their water leaves and their natural sugars concentrate. If your apples are very tart and you want a sweeter chip, you can add a light dusting of sugar with the cinnamon, but it changes the recipe. Sugar melts and can make the chips stick to the parchment and brown faster, so watch them closely in the last 30 minutes if you add it.
You can also change the spice. A pinch of nutmeg with the cinnamon gives a warmer, deeper flavor. Pumpkin pie spice works in autumn, though it will overpower a mild apple like Gala. Keep the total spice to about one teaspoon for two apples, whatever blend you choose, so the apple flavor stays in front.
Frequently Asked Questions
No, you do not need a dehydrator. A regular oven set to 200 degrees Fahrenheit dries thin apple slices in about 2 hours, and the finished chips snap when fully cooled.
Soft chips are usually sliced too thick or stored before they cooled completely. Slice 1 to 2 millimeters thick, bake until the slices feel papery, cool for 30 minutes, and store only when fully cool and dry.
Easy Chicken Recipes • Official Card
Baked Apple Chips with Cinnamon
☆☆☆☆☆0.0 (0 reviews)•Recipe by Cooking With Guru Editorial Team•Updated: Jan 15, 2025
Thin oven-baked apple chips dusted with cinnamon. Two ingredients, no dehydrator, crisp straight from a low oven.
Prep Time15 mins
Cook Time120 mins
Total Time135 mins
Adjust Servings:
4
Ingredients
Click to check off2 piece apples(large, firm; Honeycrisp, Fuji, Gala, or Granny Smith)
1 tsp ground cinnamon(dusted evenly over the slices)
Instructions
Step-by-StepHeat the oven to 200 degrees Fahrenheit and line two baking sheets with parchment paper.
0Wash and dry the apples, then slice them as thin as you can, about 1 to 2 millimeters thick, using a mandoline or a sharp knife.
0Pick out the seeds and lay the slices in a single layer on the lined trays, leaving a small gap between each slice.
0Dust the cinnamon evenly over the slices from a small sieve or shaker held above the trays.
0Bake for 60 minutes, until the tops look dry and the edges start to curl slightly.
Flip every slice, swap the trays between racks, and bake for 45 to 60 minutes more, until the slices feel papery and dry.
Cool the chips on the trays for at least 30 minutes, then test one: it should snap when bent gently, not bend.
Store the cooled chips in an airtight container, or serve at once.
0CWG
Recipe Source
The Cooking With Guru Team
Our recipes are developed and checked by the Cooking With Guru team. Nutrition figures are estimates calculated from USDA data, and yields scale with the built-in portion tools so the recipe fits your kitchen.
More snack recipes to try!
🍽️
Turkish Menemen: One-Pan Eggs in Spicy Tomato Sauce
🍽️
High-Protein Cottage Cheese Egg Bake with Spinach
🍽️
Easy Chicken Congee Recipe with Crispy Garlic and Chili Oil
Comments & Questions (0)
Join the conversationNo comments yet!
Be the first to leave a comment or ask a question about Baked Apple Chips with Cinnamon.