🍽️
Prep time20 mins
Cook time40 mins
Ingredients13
dessert
Baked Apples with Oat Crumble
Published: Jan 15, 2025
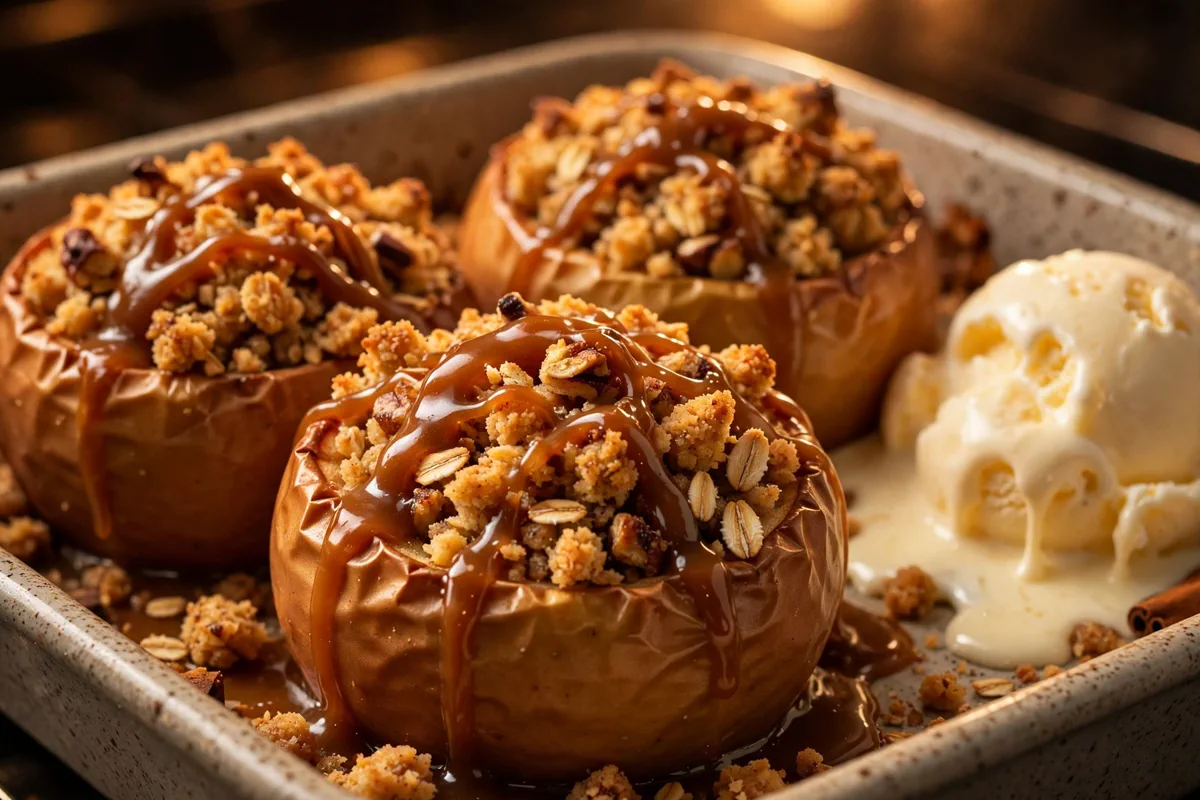
Whole apples baked soft and stuffed with a buttery oat crumble, pecans, and raisins, finished with warm caramel sauce and vanilla ice cream.
Whole apples baked soft and stuffed with a buttery oat crumble, pecans, and raisins, finished with warm caramel sauce and vanilla ice cream.
If you are looking for an ultra-satisfying, restaurant-quality meal that comes together with minimal effort, this Baked Apples with Oat Crumble is about to become your new favorite. Everything is cooked to juicy, golden perfection with wholesome ingredients and incredible depth of flavor.
One simple tip!
Pick a firm apple. Honeycrisp and Granny Smith keep their shape for a full 40 minutes in the oven. A soft apple like McIntosh or Red Delicious slumps into applesauce before the filling is done.
Step-by-Step Photos
Why You’ll Love This Recipe
Quick & EffortlessReady in just 60 minutes total with straightforward, foolproof prep.
Packed with Deep FlavorCarefully balanced with large firm apples, old-fashioned rolled oats, light brown sugar for maximum satisfaction.
Family & Crowd FriendlyMakes 4 generous servings that can be effortlessly doubled or scaled using our smart scaler.
Made From ScratchReal ingredients and straightforward home cooking, with no shortcuts on flavor.
Ingredients Notes & Variations
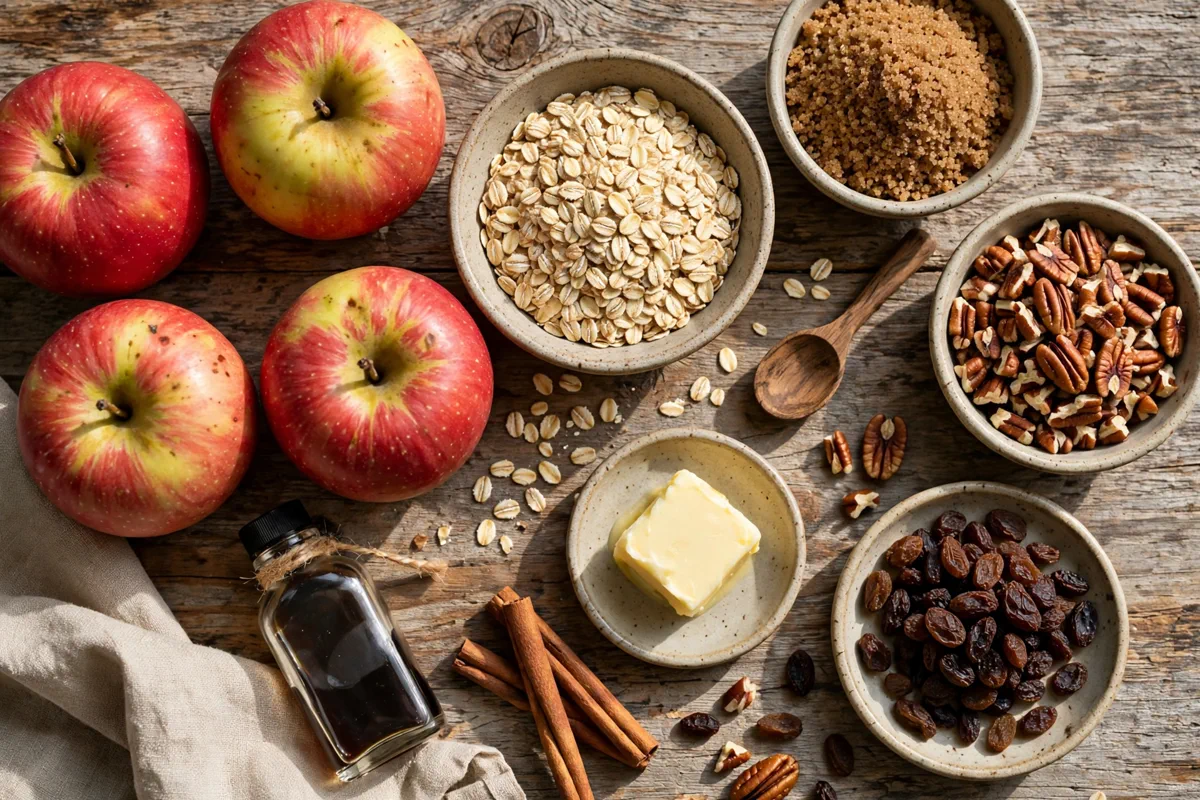
Here is an overview of what you will need for this recipe. Be sure to scroll down to the printable recipe card below for exact scaled measurements!
large firm apples
4 pieceHoneycrisp or Granny Smith; they hold their shape in the oven
old-fashioned rolled oats
0.75 cupnot instant or steel-cut
light brown sugar
0.5 cupdivided: 1/3 cup for the filling, 3 tablespoons for the caramel sauce
unsalted butter
4 tbspmelted, divided between the filling and the caramel sauce
ground cinnamon
1 tspground nutmeg
0.25 tspfreshly grated if you have it
chopped pecans
0.33 cupwalnuts work too
raisins
0.25 cupplumped in warm water for 5 minutes if they feel dry
vanilla extract
1 tspfine sea salt
0.25 tspheavy cream
0.25 cupfor the caramel sauce
water
0.5 cuppoured into the baking dish so the apples steam gently
vanilla ice cream
4 pieceone scoop per apple, for serving
How to Make (Step-by-Step Overview)
Here is a quick summary of the preparation process. Detailed cooking temperatures and step timers are included in the recipe card below.
1
Heat the oven to 375°F. Pour the water into a baking dish just big enough to hold the apples snugly, so they stand upright and support each other.
2
Cut a thin slice off the bottom of each apple so it sits flat, then core each one with an apple corer or a small paring knife, leaving about half an inch of flesh at the base so the filling stays inside. Scoop the cavity a little wider with a spoon, about an inch and a half across.
3
Stir the oats, 1/3 cup of the brown sugar, cinnamon, nutmeg, pecans, raisins, and salt together in a bowl. Pour in 3 tablespoons of the melted butter and the vanilla, and stir until every oat looks damp and the mixture clumps when you squeeze it.
4
Pack the filling into each apple, mounding it a little above the top. The filling shrinks as it bakes, so a generous mound is the right amount. Set the apples in the dish.
5
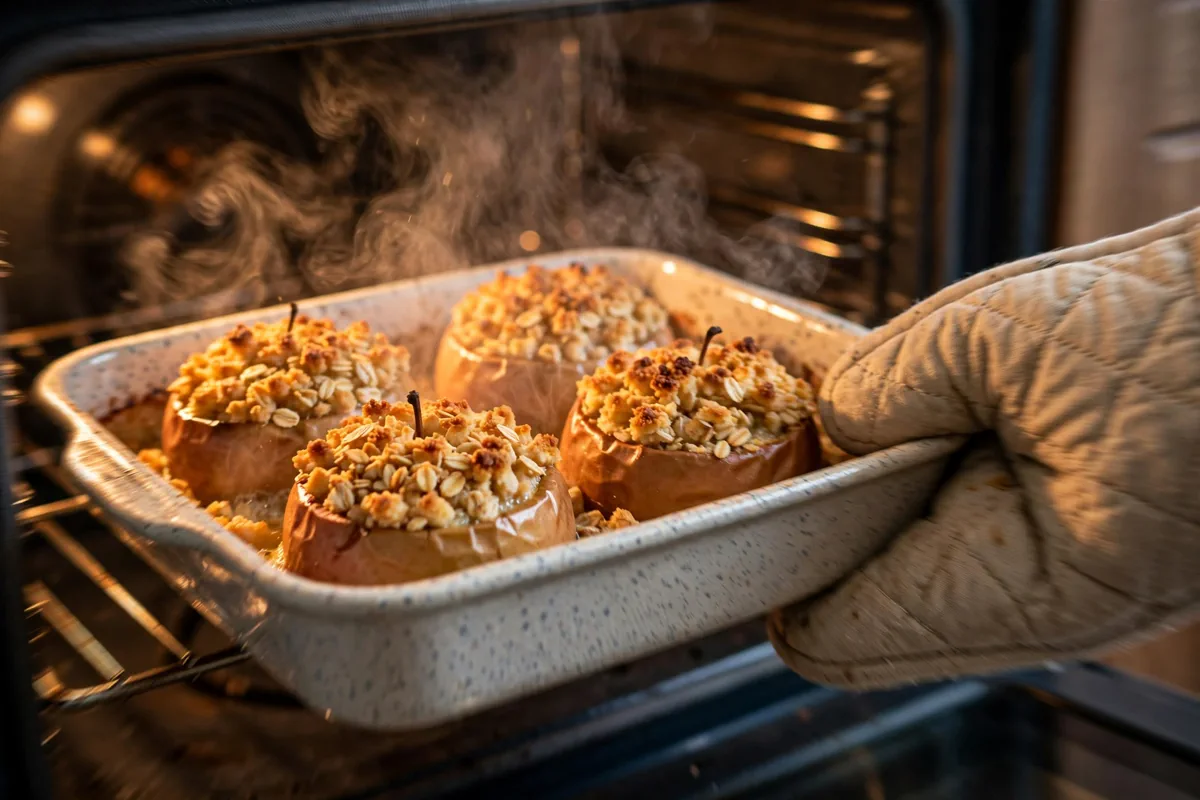
Cover the dish tightly with foil and bake for 30 minutes. The foil traps steam, which softens the apples without drying the filling out.
6
Take the foil off and bake 10 to 12 minutes more, until the crumble topping is golden and crisp at the edges and a knife slides into the apple flesh with almost no resistance.
7
While the apples finish, make the caramel sauce. Melt the remaining tablespoon of butter in a small saucepan over medium heat, add the remaining 3 tablespoons of brown sugar, and stir until it bubbles. Pour in the cream slowly, stirring the whole time, and simmer 1 minute until the sauce coats a spoon.
8
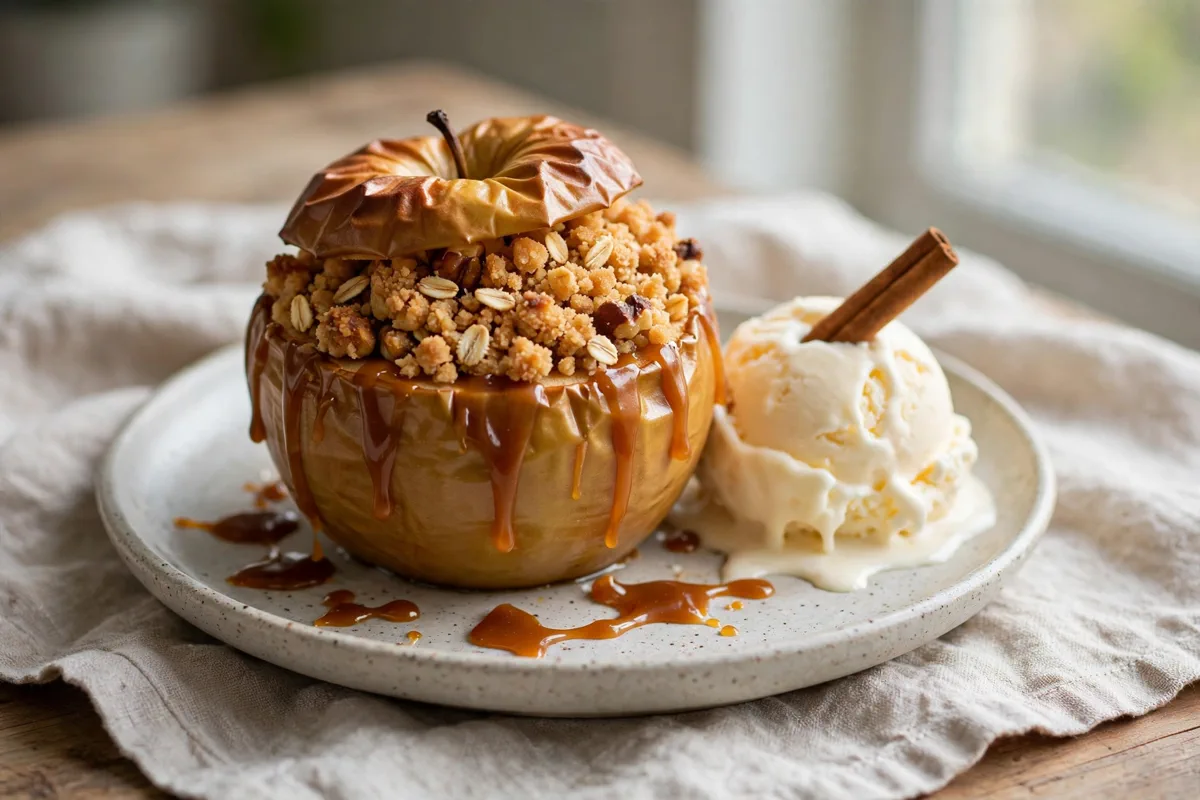
Let the apples rest 5 minutes. Spoon the caramel sauce over each one and serve warm with a scoop of vanilla ice cream.
Our Pro Tips for Success
- •Pick a firm apple. Honeycrisp and Granny Smith keep their shape for a full 40 minutes in the oven. A soft apple like McIntosh or Red Delicious slumps into applesauce before the filling is done.
- •Leave the base of the apple intact. If you core all the way through, the filling and the apple juices leak into the dish instead of staying inside the apple.
- •Do not skip the foil for the first 30 minutes. Without it, the crumble dries out and darkens long before the apple flesh turns tender. The foil is what lets the two finish at the same time.
- •Check doneness with a thin knife, not a fork. A fork tears the flesh and makes a soft apple look done when it is still firm in the middle. A paring knife should slide in with almost no push.
- •Serve the caramel sauce warm, not hot. Sauce straight off the stove melts the ice cream on contact. Give it a minute off the heat so it pours in a slow ribbon instead of running straight off the apple.
Storage & Make-Ahead Instructions
Refrigerator:Store leftovers in an airtight container for up to 3 to 4 days.
Freezer:Freeze in freezer-safe containers or bags for up to 2 months. Thaw overnight in the fridge.
Reheating:Reheat gently in a 350°F oven or covered skillet with a splash of broth until heated through.
Interactive Kitchen Assistant Live Smart Scaler
Our Recipe Precision Calculators
Calculate exact roasting times, internal temperatures, brining ratios, and safe thaw windows.
2.5 lbs (1.13 kg)
Recommended Timing & Thermals
Est. Cook Time45 mins
Rest Period7 mins
Pull From Heat160°F (71°C)
Final Carryover165°F (74°C)
Insert meat thermometer into thickest center without touching bone for 100% juicy safety.
Baked apples with oat crumble are whole apples, cored and stuffed with a buttery oat, pecan, and raisin filling, baked until the flesh is soft and the topping is crisp, then served warm with caramel sauce and vanilla ice cream. Each apple is its own portion, which makes this a dessert that plates itself.
The trick is timing. The apple needs about 40 minutes to turn tender, and the crumble needs about 10 minutes uncovered to crisp. Covering the dish with foil for the first half of the bake solves both at once: the trapped steam softens the apple while the filling stays protected, and the last uncovered stretch gives the oats their golden crunch.
Why whole apples, not a pan crumble
Most apple crumbles are baked in a pan, sliced, and scooped out in whatever shape comes up. These are different. Each apple keeps its shape, the filling sits inside the fruit instead of on top of it, and the juices from the apple soak into the oats as they bake. The result eats like a cross between a baked apple and a crumble, and it looks like something you meant to make, not something you scraped out of a dish.
That also makes serving simple. There is no slicing, no guessing at portions, no first serving that falls apart while the rest holds together. One apple per person, sauce over the top, ice cream on the side.
Picking the right apple
The apple matters more than anything else in this recipe. It has to survive 40 minutes at 375°F and still look like an apple when it comes out. Honeycrisp is the easy pick: firm, sweet-tart, and widely available. Granny Smith is the other good choice, firmer and more tart, which some people prefer against the sweet filling.
What to avoid is any apple that is already soft when raw. McIntosh, Red Delicious, and Gala all bake down fast and collapse before the filling is done. If you are not sure about a variety, press the apple near the stem. If your thumb sinks in easily, it will not survive the oven.
Size matters too. Large apples, around 3 inches across, give you enough room for a generous spoonful of filling and bake evenly. Small apples finish too fast and leave the filling underdone in the middle.
The filling: oats, pecans, and raisins
The filling is a small crumble: old-fashioned rolled oats, brown sugar, cinnamon, a pinch of nutmeg, chopped pecans, and raisins, held together with melted butter and a splash of vanilla. The oats are the point. Quick oats turn to paste in the oven; old-fashioned oats keep their shape and crisp up on top.
Mix the dry ingredients first, then pour in the butter and vanilla and stir until every oat looks damp. Squeeze a handful. It should clump together and then break apart easily. If it looks dry and dusty, add another teaspoon of melted butter. If it looks greasy, you added too much — a spoonful of oats will fix it.
Pack the filling in firmly and mound it above the rim. It shrinks as it bakes, and a level fill ends up sitting below the top of the apple, which looks thin and leaves the top of the apple bare. A mound settles into a neat dome.
How to core an apple without cutting through
The most common mistake with stuffed apples is coring all the way through the bottom. The filling and the apple juices leak into the dish, and the apple ends up sitting in a puddle with an empty center.
An apple corer makes this easy, but a paring knife works fine. Cut around the core from the top, then use a small spoon to widen the cavity to about an inch and a half across. Stop while there is still half an inch of flesh at the bottom. You can feel it: the knife meets resistance when it reaches the base, and that is where you stop.
Cut a thin slice off the bottom of each apple first, so it sits flat and does not tip over in the dish. A wobbling apple spills its filling. Choose a baking dish the apples fit snugly in — they lean on each other and stay upright.
The caramel sauce
The sauce is a quick brown sugar caramel: butter, brown sugar, and cream, simmered for a minute until it coats a spoon. It takes three minutes and it is worth doing while the apples finish baking, because it is best poured warm.
Pour the cream in slowly and keep stirring. Cream hitting hot sugar can seize into lumps if it goes in all at once. A slow pour and steady stirring keeps it smooth. If it does lump, keep stirring over low heat for another minute and it usually comes back together.
The sauce keeps in the fridge for a week in a small jar, so making a little extra is never a waste. Warm it gently in the microwave in 15-second bursts before pouring.
What can go wrong
Apples collapsing: the variety was too soft, or they baked too long. Check at 35 minutes with a thin knife. Pull them as soon as the knife slides in with almost no push. They keep softening for a few minutes after they come out of the oven.
Soggy crumble: the dish was not covered for the first half, or the apples sat in too much water. Half a cup of water in the dish is enough. It steams the apples without flooding them. If your apples released a lot of juice, spoon some of it over the filling before serving — it is sweet and spiced, not a problem.
Burnt topping: the foil came off too early, or the oven runs hot. If the topping darkens before the apple is tender, lay the foil back over the dish loosely and keep baking.
Serving and storing
Serve the apples warm, not hot. Five minutes out of the oven is right: the filling sets a little, the sauce pours in a slow ribbon instead of running off, and the ice cream melts at the edges instead of disappearing on contact.
Leftovers keep in the fridge for three days in a covered container. Reheat one apple at a time in the microwave for 60 to 90 seconds, or in a 350°F oven for 10 minutes under loose foil. Store the caramel sauce separately and warm it before pouring. The apples do not freeze well — the flesh turns grainy when thawed — so make only as many as you will eat within a few days.
Frequently Asked Questions
Honeycrisp and Granny Smith are the best choices. Both stay firm and hold their shape through 40 minutes in the oven, and their tartness balances the sweet crumble filling. Avoid soft apples like McIntosh or Red Delicious, which collapse before the filling finishes baking.
Yes. Core and stuff the apples up to a day ahead, cover the dish, and keep it in the fridge. Bake straight from the fridge, adding 5 minutes to the covered baking time. Make the caramel sauce just before serving, or reheat a stored batch gently.
Easy Chicken Recipes • Official Card
Baked Apples with Oat Crumble
☆☆☆☆☆0.0 (0 reviews)•Recipe by Cooking With Guru Editorial Team•Updated: Jan 15, 2025
Whole apples baked soft and stuffed with a buttery oat crumble, pecans, and raisins, finished with warm caramel sauce and vanilla ice cream.
Prep Time20 mins
Cook Time40 mins
Total Time60 mins
Adjust Servings:
4
Ingredients
Click to check off4 piece large firm apples(Honeycrisp or Granny Smith; they hold their shape in the oven)
3/4 cup old-fashioned rolled oats(not instant or steel-cut)
1/2 cup light brown sugar(divided: 1/3 cup for the filling, 3 tablespoons for the caramel sauce)
4 tbsps unsalted butter(melted, divided between the filling and the caramel sauce)
1 tsp ground cinnamon
1/4 tsp ground nutmeg(freshly grated if you have it)
1/3 cup chopped pecans(walnuts work too)
1/4 cup raisins(plumped in warm water for 5 minutes if they feel dry)
1 tsp vanilla extract
1/4 tsp fine sea salt
1/4 cup heavy cream(for the caramel sauce)
1/2 cup water(poured into the baking dish so the apples steam gently)
4 piece vanilla ice cream(one scoop per apple, for serving)
Instructions
Step-by-StepHeat the oven to 375°F. Pour the water into a baking dish just big enough to hold the apples snugly, so they stand upright and support each other.
0Cut a thin slice off the bottom of each apple so it sits flat, then core each one with an apple corer or a small paring knife, leaving about half an inch of flesh at the base so the filling stays inside. Scoop the cavity a little wider with a spoon, about an inch and a half across.
0Stir the oats, 1/3 cup of the brown sugar, cinnamon, nutmeg, pecans, raisins, and salt together in a bowl. Pour in 3 tablespoons of the melted butter and the vanilla, and stir until every oat looks damp and the mixture clumps when you squeeze it.
0Pack the filling into each apple, mounding it a little above the top. The filling shrinks as it bakes, so a generous mound is the right amount. Set the apples in the dish.
0Cover the dish tightly with foil and bake for 30 minutes. The foil traps steam, which softens the apples without drying the filling out.
Take the foil off and bake 10 to 12 minutes more, until the crumble topping is golden and crisp at the edges and a knife slides into the apple flesh with almost no resistance.
While the apples finish, make the caramel sauce. Melt the remaining tablespoon of butter in a small saucepan over medium heat, add the remaining 3 tablespoons of brown sugar, and stir until it bubbles. Pour in the cream slowly, stirring the whole time, and simmer 1 minute until the sauce coats a spoon.
Let the apples rest 5 minutes. Spoon the caramel sauce over each one and serve warm with a scoop of vanilla ice cream.
CWG
Recipe Source
The Cooking With Guru Team
Our recipes are developed and checked by the Cooking With Guru team. Nutrition figures are estimates calculated from USDA data, and yields scale with the built-in portion tools so the recipe fits your kitchen.
More dessert recipes to try!
🍽️
Turkish Menemen: One-Pan Eggs in Spicy Tomato Sauce
🍽️
High-Protein Cottage Cheese Egg Bake with Spinach
🍽️
Easy Chicken Congee Recipe with Crispy Garlic and Chili Oil
Comments & Questions (0)
Join the conversationNo comments yet!
Be the first to leave a comment or ask a question about Baked Apples with Oat Crumble.


