🍽️
Prep time20 mins
Cook time50 mins
Ingredients12
dessert
Pumpkin Pie Bars with Gingersnap Crust
Published: Jan 15, 2025
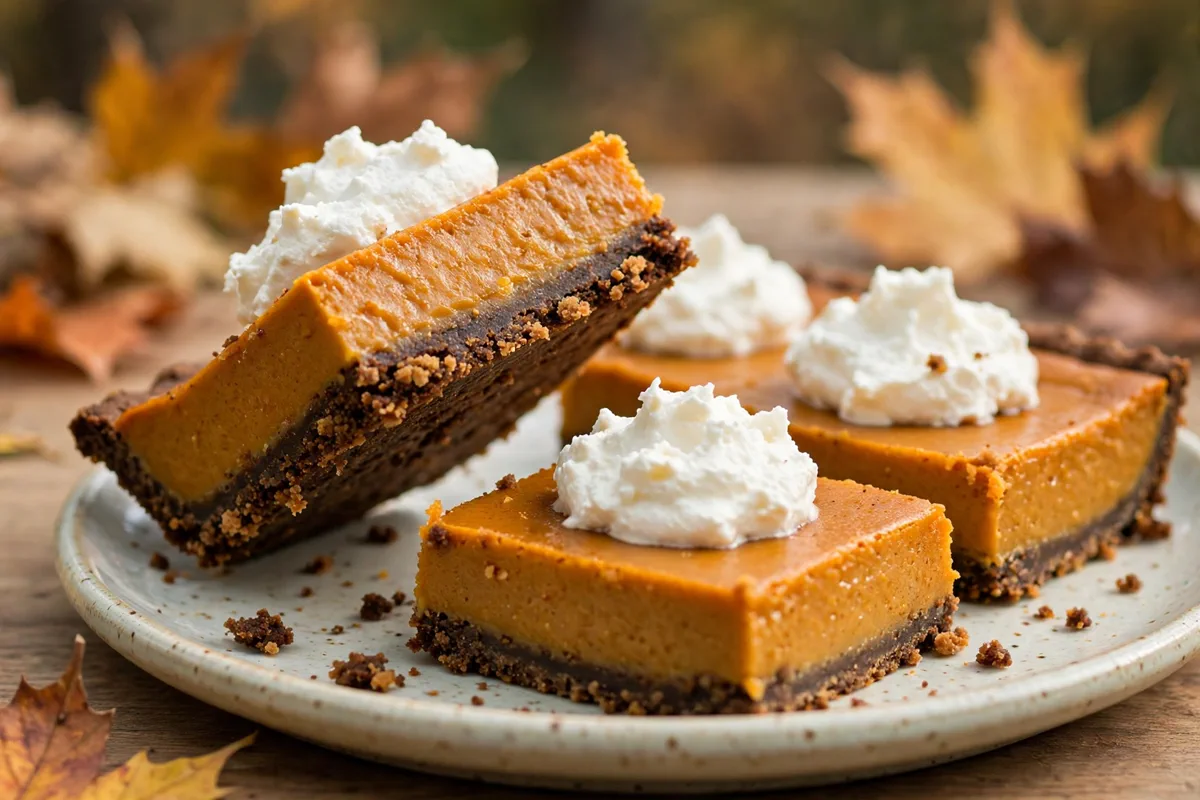
Pumpkin pie bars with a snappy gingersnap crust and silky spiced filling. All the pie flavor, no pastry dough, and they slice clean for a crowd.
Pumpkin pie bars with a snappy gingersnap crust and silky spiced filling. All the pie flavor, no pastry dough, and they slice clean for a crowd.
If you are looking for an ultra-satisfying, restaurant-quality meal that comes together with minimal effort, this Pumpkin Pie Bars with Gingersnap Crust is about to become your new favorite. Everything is cooked to juicy, golden perfection with wholesome ingredients and incredible depth of flavor.
One simple tip!
Use plain pumpkin purée, not pumpkin pie filling. Pie filling already has sugar and spice mixed in, and it will throw the sweetness and spice balance off.
Step-by-Step Photos
Why You’ll Love This Recipe
Quick & EffortlessReady in just 310 minutes total with straightforward, foolproof prep.
Packed with Deep FlavorCarefully balanced with gingersnap cookie crumbs, unsalted butter, granulated sugar for maximum satisfaction.
Family & Crowd FriendlyMakes 16 generous servings that can be effortlessly doubled or scaled using our smart scaler.
Made From ScratchReal ingredients and straightforward home cooking, with no shortcuts on flavor.
Ingredients Notes & Variations
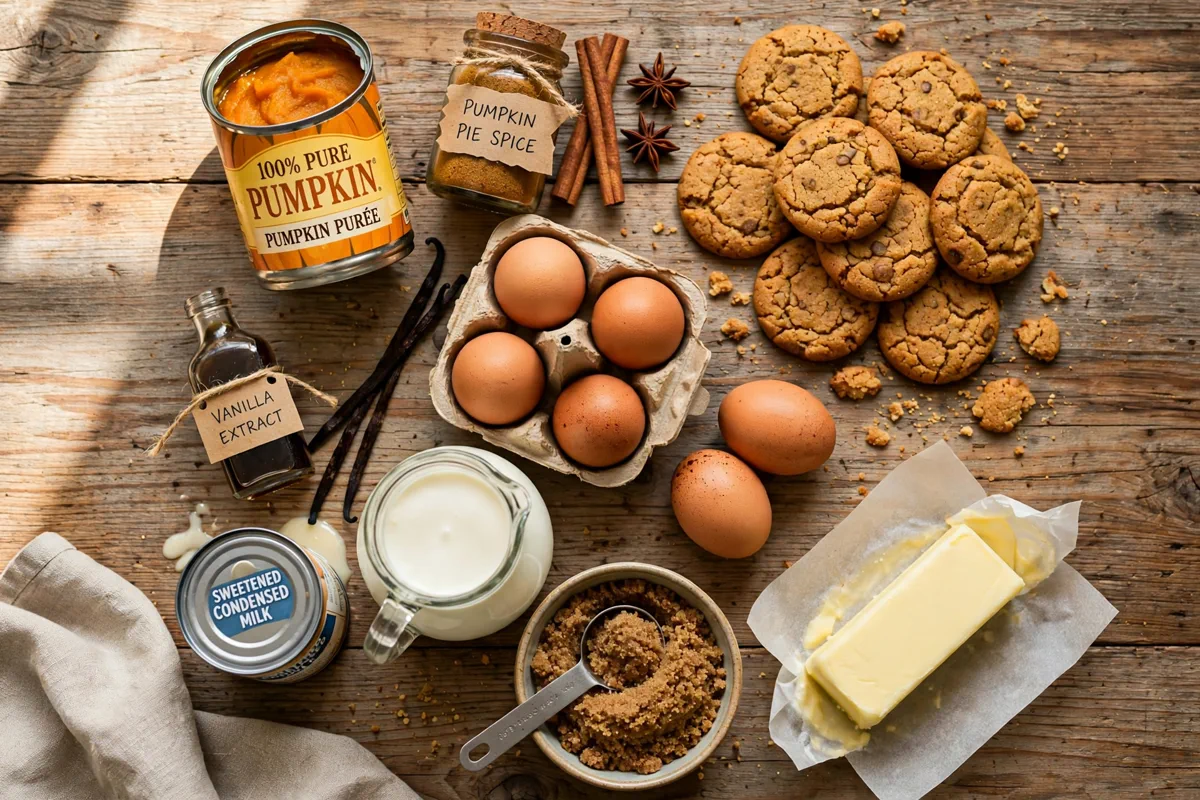
Here is an overview of what you will need for this recipe. Be sure to scroll down to the printable recipe card below for exact scaled measurements!
gingersnap cookie crumbs
2 cupabout 30 cookies, finely crushed
unsalted butter
6 tbspmelted
granulated sugar
2 tbspfor the crust
pumpkin purée
15 ozone can, plain purée not pie filling
eggs
3 piecelarge, at room temperature
sweetened condensed milk
14 ozone can
light brown sugar
0.5 cuppacked
pumpkin pie spice
2 tspvanilla extract
1 tspfine salt
0.5 tspfor the filling
heavy whipping cream
1 cupcold, for serving
powdered sugar
2 tbspfor the whipped cream
How to Make (Step-by-Step Overview)
Here is a quick summary of the preparation process. Detailed cooking temperatures and step timers are included in the recipe card below.
1
Heat the oven to 175 C (350 F). Line a 9 by 13 inch pan with parchment, leaving the paper hanging over the two long sides so you can lift the slab out later.
2
Stir the gingersnap crumbs, melted butter, and granulated sugar together in a bowl until the crumbs look like damp sand and hold together when you squeeze a pinch.
3
Tip the crumbs into the lined pan and press them into a firm, even layer with the bottom of a measuring cup. Pay attention to the corners, where crumbs tend to pile up thick.
4
Bake the crust for 10 minutes, until it smells toasty and the edges look a shade darker. Set the pan on a rack while you make the filling.
5
Whisk the pumpkin purée, eggs, sweetened condensed milk, brown sugar, pumpkin pie spice, vanilla, and salt in a large bowl until smooth. Whisk for a full minute so the sugar dissolves and no streaks of egg white remain.
6
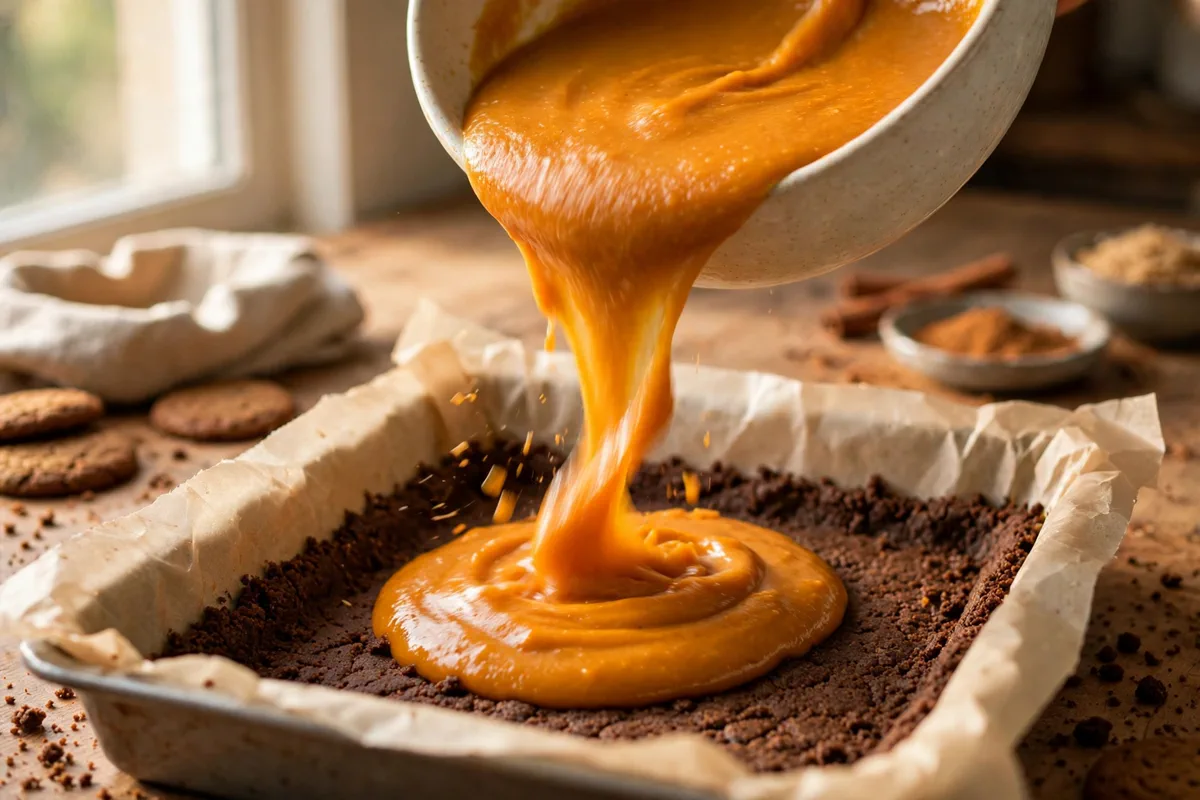
Pour the filling over the warm crust and smooth the top with a spatula. Tap the pan once on the counter to pop any big bubbles.
7
Bake for 35 to 40 minutes, until the edges are set and the center still wobbles like jelly when you nudge the pan. The filling will firm up as it cools, so do not wait for the middle to look solid.
8
Cool the pan on a rack for 1 hour, then cover and chill in the fridge for at least 4 hours, or overnight. Cold bars cut cleanly; warm bars do not.
9
Lift the slab out by the parchment overhang and set it on a cutting board. Run a long, sharp knife under hot water, wipe it dry, and cut into 16 bars, wiping the blade between cuts.
10
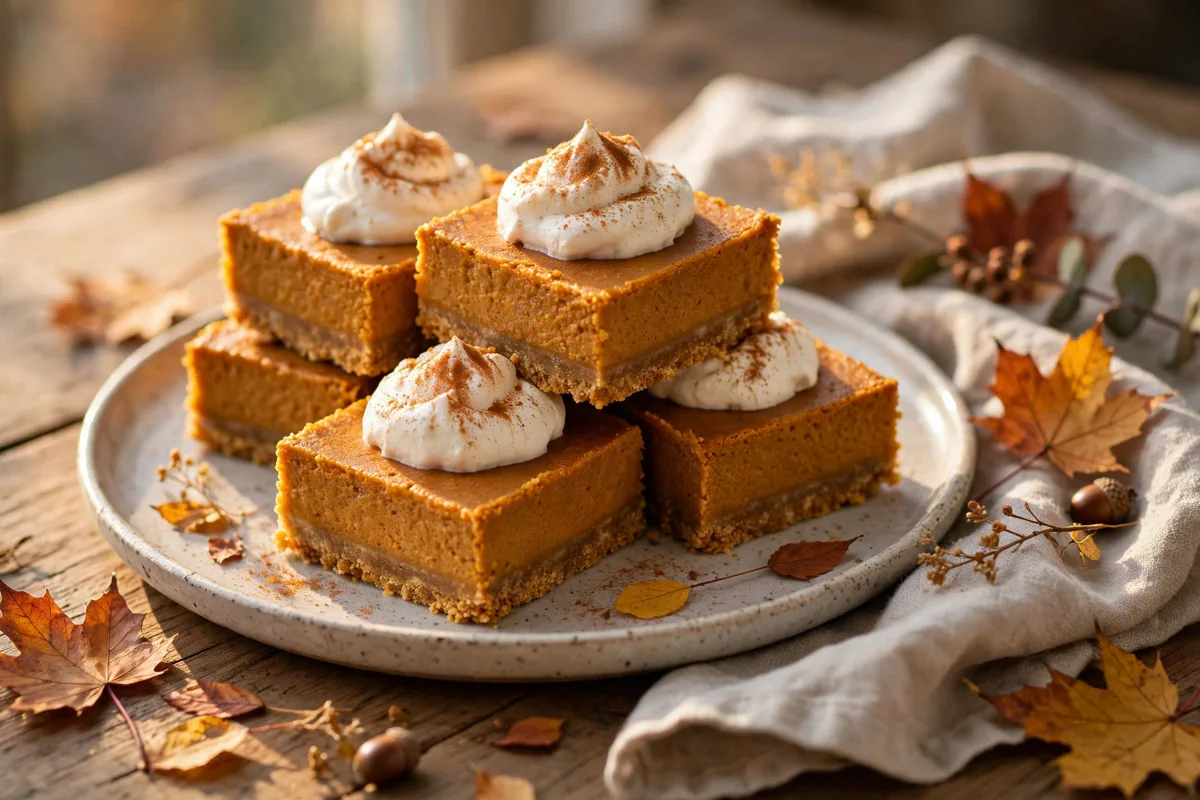
Whip the cold cream with the powdered sugar until soft peaks form, about 2 minutes. Spoon a dollop onto each bar just before serving.
Our Pro Tips for Success
- •Use plain pumpkin purée, not pumpkin pie filling. Pie filling already has sugar and spice mixed in, and it will throw the sweetness and spice balance off.
- •The center should still jiggle when the bars come out of the oven. If you bake until the middle looks firm, the filling turns rubbery and can crack as it cools.
- •Chill for the full 4 hours, or overnight if you can. The filling sets in the fridge, and cold bars slice with sharp edges instead of smearing.
- •Wipe the knife between cuts. One clean wipe is the difference between neat squares and bars with filling dragged across the crust.
- •Press the crust with a flat-bottomed measuring cup, not your fingers. Fingers leave thin spots in the middle and thick piles in the corners.
Storage & Make-Ahead Instructions
Refrigerator:Store leftovers in an airtight container for up to 3 to 4 days.
Freezer:Freeze in freezer-safe containers or bags for up to 2 months. Thaw overnight in the fridge.
Reheating:Reheat gently in a 350°F oven or covered skillet with a splash of broth until heated through.
Interactive Kitchen Assistant Live Smart Scaler
Our Recipe Precision Calculators
Calculate exact roasting times, internal temperatures, brining ratios, and safe thaw windows.
2.5 lbs (1.13 kg)
Recommended Timing & Thermals
Est. Cook Time45 mins
Rest Period7 mins
Pull From Heat160°F (71°C)
Final Carryover165°F (74°C)
Insert meat thermometer into thickest center without touching bone for 100% juicy safety.
Pumpkin pie bars with a gingersnap crust are exactly what they sound like: the silky, spiced filling of a pumpkin pie baked in a 9 by 13 inch pan over a crisp, buttery layer of crushed gingersnaps. There is no pastry dough to roll, no fluted edge to fuss over, and the whole slab cuts into 16 neat squares that travel well and feed a crowd.
The crust is the reason this version works so well. A plain graham cracker base is fine, but gingersnaps bring their own ginger heat and molasses depth, which is the flavor pumpkin pie is already reaching for. The crumbs bake into a firm layer that holds its snap under the filling, so each bar has a clear crunch at the bottom and a soft, custardy top. That contrast is what makes people reach for a second piece.
Why the gingersnap crust holds up
The trick with any crumb crust is the butter ratio and the press. Six tablespoons of melted butter against two cups of crumbs gives a mixture that clumps when you squeeze it but still looks loose in the bowl. If it feels dry, add another tablespoon of butter rather than pressing harder. Pressing dry crumbs just packs them into a layer that falls apart the moment you cut it.
Press with the flat bottom of a measuring cup and work from the middle outward. Fingers leave the center thin and the corners thick, which means the middle bars crumble and the corner bars are all crust. A ten-minute bake before the filling goes in is what sets the crust. It toasts the crumbs, firms the butter, and keeps the layer from soaking up moisture from the filling while the bars bake.
The filling, and how to tell when it is done
The filling is a short list: pumpkin purée, eggs, sweetened condensed milk, brown sugar, spice, vanilla, and salt. The condensed milk does most of the work here. It sweetens the filling, thickens it as it bakes, and gives it that smooth, almost silky texture that is hard to get from plain milk and sugar. The brown sugar adds a little molasses note that plain white sugar cannot.
Whisk the filling for a full minute. That sounds fussy, but it matters. Brown sugar takes a moment to dissolve, and any streaks of egg white left in the bowl will bake into pale threads in the finished bars. The batter should look uniform and pour like thick cream.
The doneness test is the jiggle. At 35 to 40 minutes the edges will look set and the center, about a three-inch circle in the middle, will still wobble when you nudge the pan. That is the moment to take them out. The filling is a custard, and it keeps cooking from the heat of the pan after it leaves the oven. If you wait until the middle looks solid, you have gone too far, and the bars will come out rubbery with cracks across the top.
Cutting clean bars
Chilling is not optional with this recipe. Four hours in the fridge is the minimum, and overnight is better. The filling firms up as it cools, and cold bars slice with sharp edges instead of smearing across the board.
Line the pan with parchment that overhangs the two long sides. When the slab is cold, lift it out by the paper and set it on a cutting board. A long, sharp knife dipped in hot water and wiped dry will cut through the filling without dragging it. Wipe the blade between cuts. It takes a few extra seconds and it is the whole difference between neat squares and bars with orange streaks across the crust.
Cut into four rows by four columns for 16 bars. If you are serving a crowd, you can cut them smaller, into 24 pieces, but the bars get harder to lift cleanly below that size.
Making them ahead for a holiday table
These bars are built for making ahead. Bake them the day before you need them, chill overnight, and cut them the next morning. They keep in the fridge for up to five days, covered, so you can bake on a quiet day and forget about dessert until the table is set.
Hold the whipped cream until serving time. Cream dolloped on the night before will weep into the filling and leave wet spots on top. Whip it fresh, which takes about two minutes, and spoon it on right before the bars go out. If you want a little color on top, a light dusting of cinnamon over the cream is enough.
What can go wrong, and how to fix it
A soggy crust almost always means the crust was underbaked or the crumbs were pressed too thin in the middle. Bake the full ten minutes, until the edges look a shade darker and the kitchen smells toasty. If your pan runs cool, give it two more minutes.
A cracked top means the bars stayed in the oven too long or cooled too fast. Pull them at the jiggle stage and let the pan sit on the counter for a full hour before it goes into the fridge. A hot pan straight into cold air is what splits custard.
If the filling tastes flat, the likely cause is the spice. Pumpkin pie spice loses its punch after a year on the shelf, and old spice is the most common reason a pumpkin dessert tastes dull. Smell the jar before you start. If you can barely smell it, buy a fresh one.
Serving them your way
These bars are good cold, straight from the fridge, with a spoonful of whipped cream. They are also good at cool room temperature after sitting out for about 20 minutes, when the filling softens slightly and the spice comes forward. Either way works, so serve them however your table is set up.
They travel well, too. Once cut, pack them in a single layer in a container with a tight lid, or stack them with parchment between layers. They hold their shape for hours at room temperature, which makes them a better potluck dessert than a whole pie that needs careful carrying and slicing on arrival.
Frequently Asked Questions
Yes, they are best made a day ahead. The filling needs at least 4 hours in the fridge to set, and overnight chilling gives the cleanest slices. Keep them covered in the fridge and add the whipped cream just before serving.
Cracks usually mean the bars baked too long or cooled too fast. Pull them out while the center still jiggles, and let them cool on the counter for a full hour before chilling, instead of putting a hot pan straight into the fridge.
Easy Chicken Recipes • Official Card
Pumpkin Pie Bars with Gingersnap Crust
☆☆☆☆☆0.0 (0 reviews)•Recipe by Cooking With Guru Editorial Team•Updated: Jan 15, 2025
Pumpkin pie bars with a snappy gingersnap crust and silky spiced filling. All the pie flavor, no pastry dough, and they slice clean for a crowd.
Prep Time20 mins
Cook Time50 mins
Total Time310 mins
Adjust Servings:
16
Ingredients
Click to check off2 cups gingersnap cookie crumbs(about 30 cookies, finely crushed)
6 tbsps unsalted butter(melted)
2 tbsps granulated sugar(for the crust)
15 oz pumpkin purée(one can, plain purée not pie filling)
3 piece eggs(large, at room temperature)
14 oz sweetened condensed milk(one can)
1/2 cup light brown sugar(packed)
2 tsps pumpkin pie spice
1 tsp vanilla extract
1/2 tsp fine salt(for the filling)
1 cup heavy whipping cream(cold, for serving)
2 tbsps powdered sugar(for the whipped cream)
Instructions
Step-by-StepHeat the oven to 175 C (350 F). Line a 9 by 13 inch pan with parchment, leaving the paper hanging over the two long sides so you can lift the slab out later.
0Stir the gingersnap crumbs, melted butter, and granulated sugar together in a bowl until the crumbs look like damp sand and hold together when you squeeze a pinch.
0Tip the crumbs into the lined pan and press them into a firm, even layer with the bottom of a measuring cup. Pay attention to the corners, where crumbs tend to pile up thick.
0Bake the crust for 10 minutes, until it smells toasty and the edges look a shade darker. Set the pan on a rack while you make the filling.
Whisk the pumpkin purée, eggs, sweetened condensed milk, brown sugar, pumpkin pie spice, vanilla, and salt in a large bowl until smooth. Whisk for a full minute so the sugar dissolves and no streaks of egg white remain.
0Pour the filling over the warm crust and smooth the top with a spatula. Tap the pan once on the counter to pop any big bubbles.
0Bake for 35 to 40 minutes, until the edges are set and the center still wobbles like jelly when you nudge the pan. The filling will firm up as it cools, so do not wait for the middle to look solid.
Cool the pan on a rack for 1 hour, then cover and chill in the fridge for at least 4 hours, or overnight. Cold bars cut cleanly; warm bars do not.
Lift the slab out by the parchment overhang and set it on a cutting board. Run a long, sharp knife under hot water, wipe it dry, and cut into 16 bars, wiping the blade between cuts.
0Whip the cold cream with the powdered sugar until soft peaks form, about 2 minutes. Spoon a dollop onto each bar just before serving.
CWG
Recipe Source
The Cooking With Guru Team
Our recipes are developed and checked by the Cooking With Guru team. Nutrition figures are estimates calculated from USDA data, and yields scale with the built-in portion tools so the recipe fits your kitchen.
More dessert recipes to try!
🍽️
Turkish Menemen: One-Pan Eggs in Spicy Tomato Sauce
🍽️
High-Protein Cottage Cheese Egg Bake with Spinach
🍽️
Easy Chicken Congee Recipe with Crispy Garlic and Chili Oil
Comments & Questions (0)
Join the conversationNo comments yet!
Be the first to leave a comment or ask a question about Pumpkin Pie Bars with Gingersnap Crust.


